Published on:
4 min read
By Jack Turner · DIY & Repairs Contributor
How to Repair a Leaky Faucet in Under 30 Minutes
I fixed my leaky faucet in just under 30 minutes using only a few basic tools. This simple repair saved me from wasting water and helped reduce my water bill significantly.

Introduction: The Drip That Won't Quit
We've all been there—lying in bed, trying to ignore the persistent dripping of a leaky faucet. Not only is it annoying, but it also wastes water and can inflate your water bill. I recently faced this problem with my kitchen sink. Determined not to let this minor issue turn into a major headache, I decided to take matters into my own hands. In this guide, I'll walk you through how I tackled this common problem and managed to fix my leaky faucet in under 30 minutes using just a few basic tools. You'll learn from my missteps, see how straightforward the repair can be, and hopefully save yourself some money in the process. The satisfaction of handling this repair was rewarding, and it has encouraged me to take on other small DIY tasks around my home.
My Leaky Faucet Dilemma
The first time I noticed the leak, it was just a few harmless drops. Over time, those drops turned into a steady trickle, particularly nagging in the middle of the night. After a quick online search, I realized that a leaky faucet can waste up to 3,000 gallons of water per year. Not wanting to waste resources or face a higher water bill, I made fixing it a priority. Armed with a wrench, screwdriver, and a replacement O-ring I picked up for about $2, I set to work. Initially, I fumbled a bit—unscrewing the wrong part and splashing water everywhere—but I quickly learned the right steps to take. It turns out, with a little patience and the right tools, even a DIY novice like me could fix the faucet efficiently. The process involved disassembling the faucet, identifying the worn-out washer and O-ring, and replacing them. I felt a real sense of accomplishment once the leak had stopped, knowing I was saving water with each fixed drip.

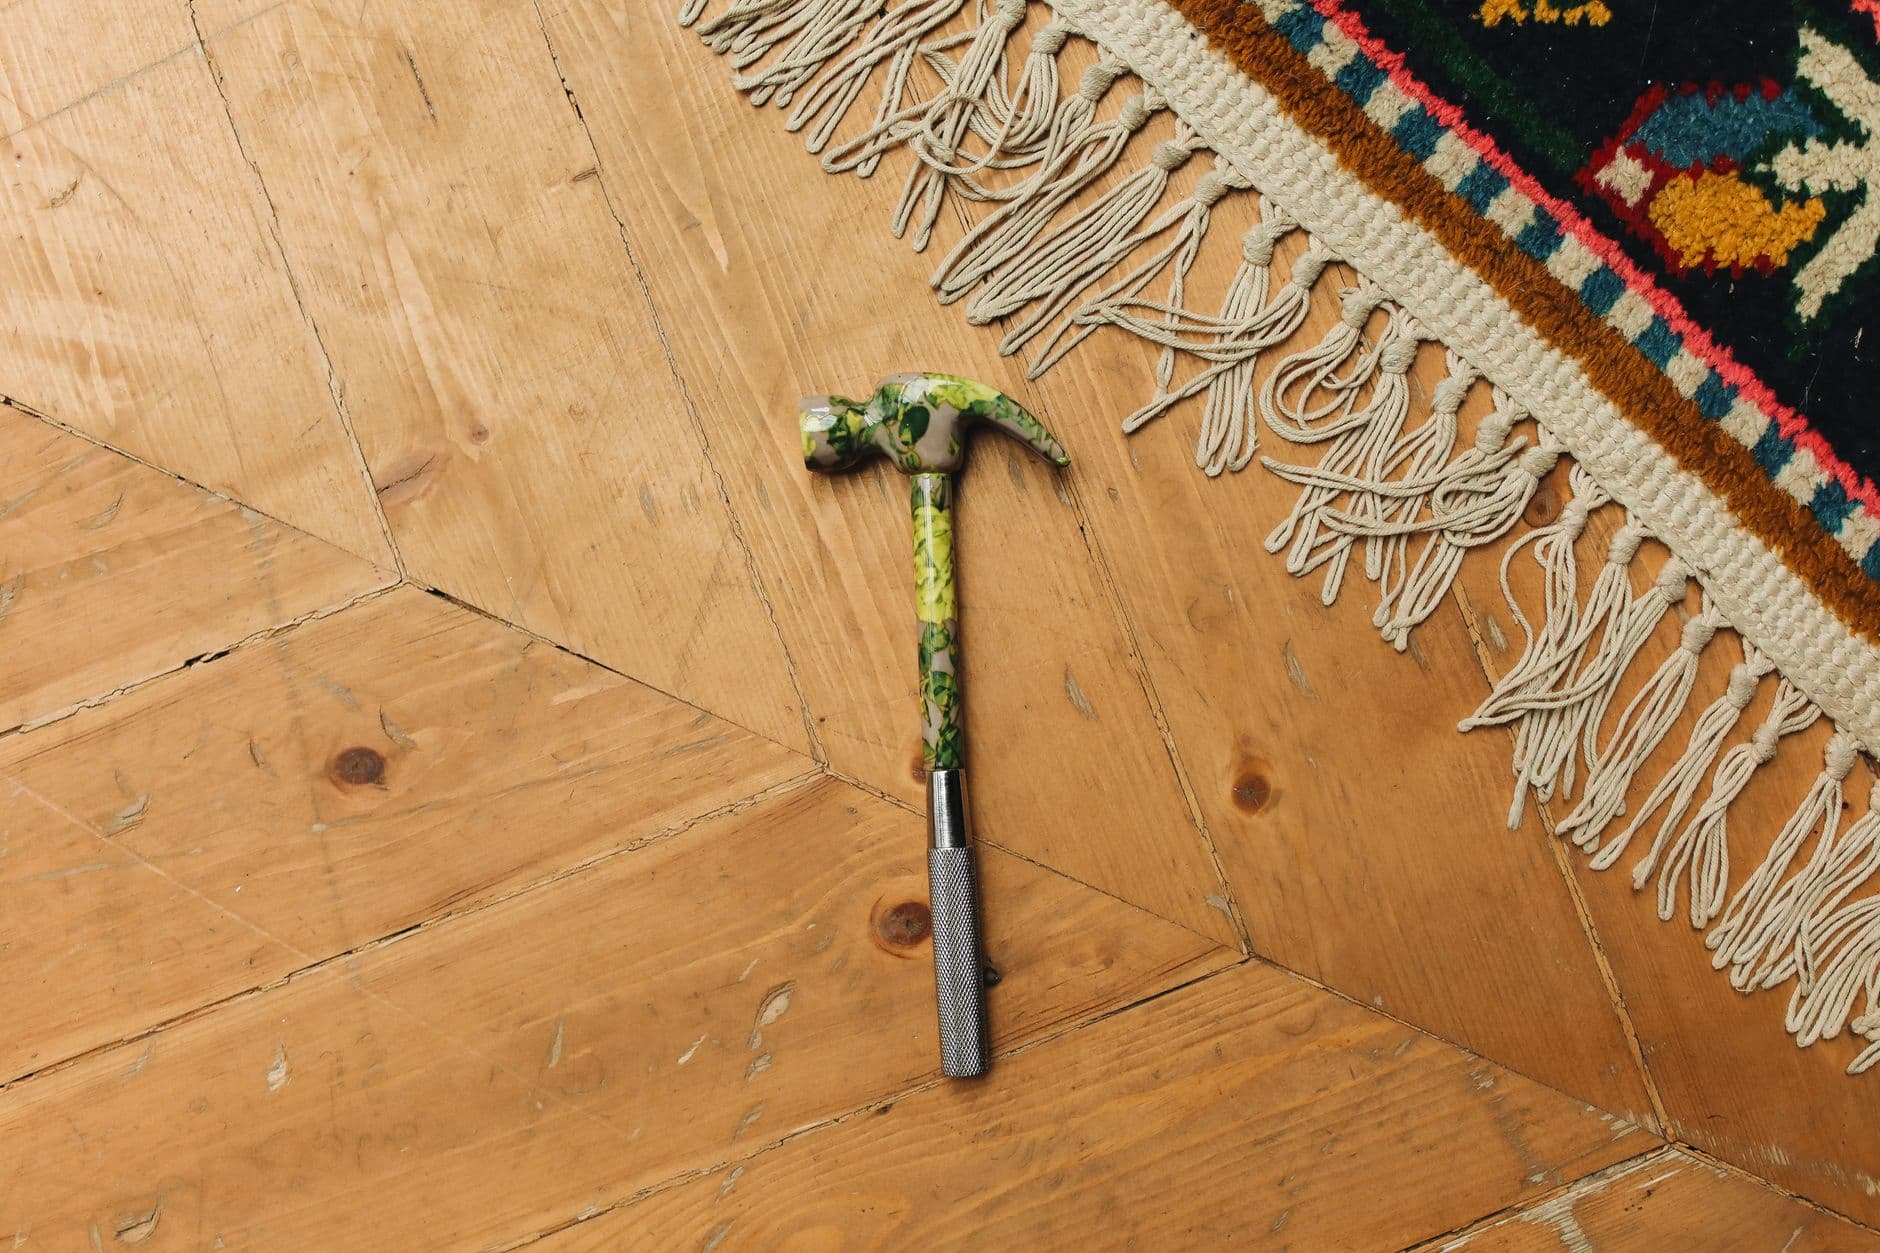
The Tools and Time Required
The entire process took me just under 30 minutes, including my initial mistakes. Here's what I used:
- Adjustable wrench
- Phillips screwdriver
- Replacement O-ring and washer (which cost about $2 each)
- Towel to mop up any spills
Comparing Faucet Repair Solutions
When faced with a leaky faucet, there are several routes you can take. Here's a comparison of the options I considered:
| Solution | Time Required | Cost |
|---|---|---|
| DIY Repair | 30 minutes | $5 |
| Professional Plumber | 1-2 hours | $100-$150 |
| Replacing Faucet | 2-3 hours | $50-$200 |
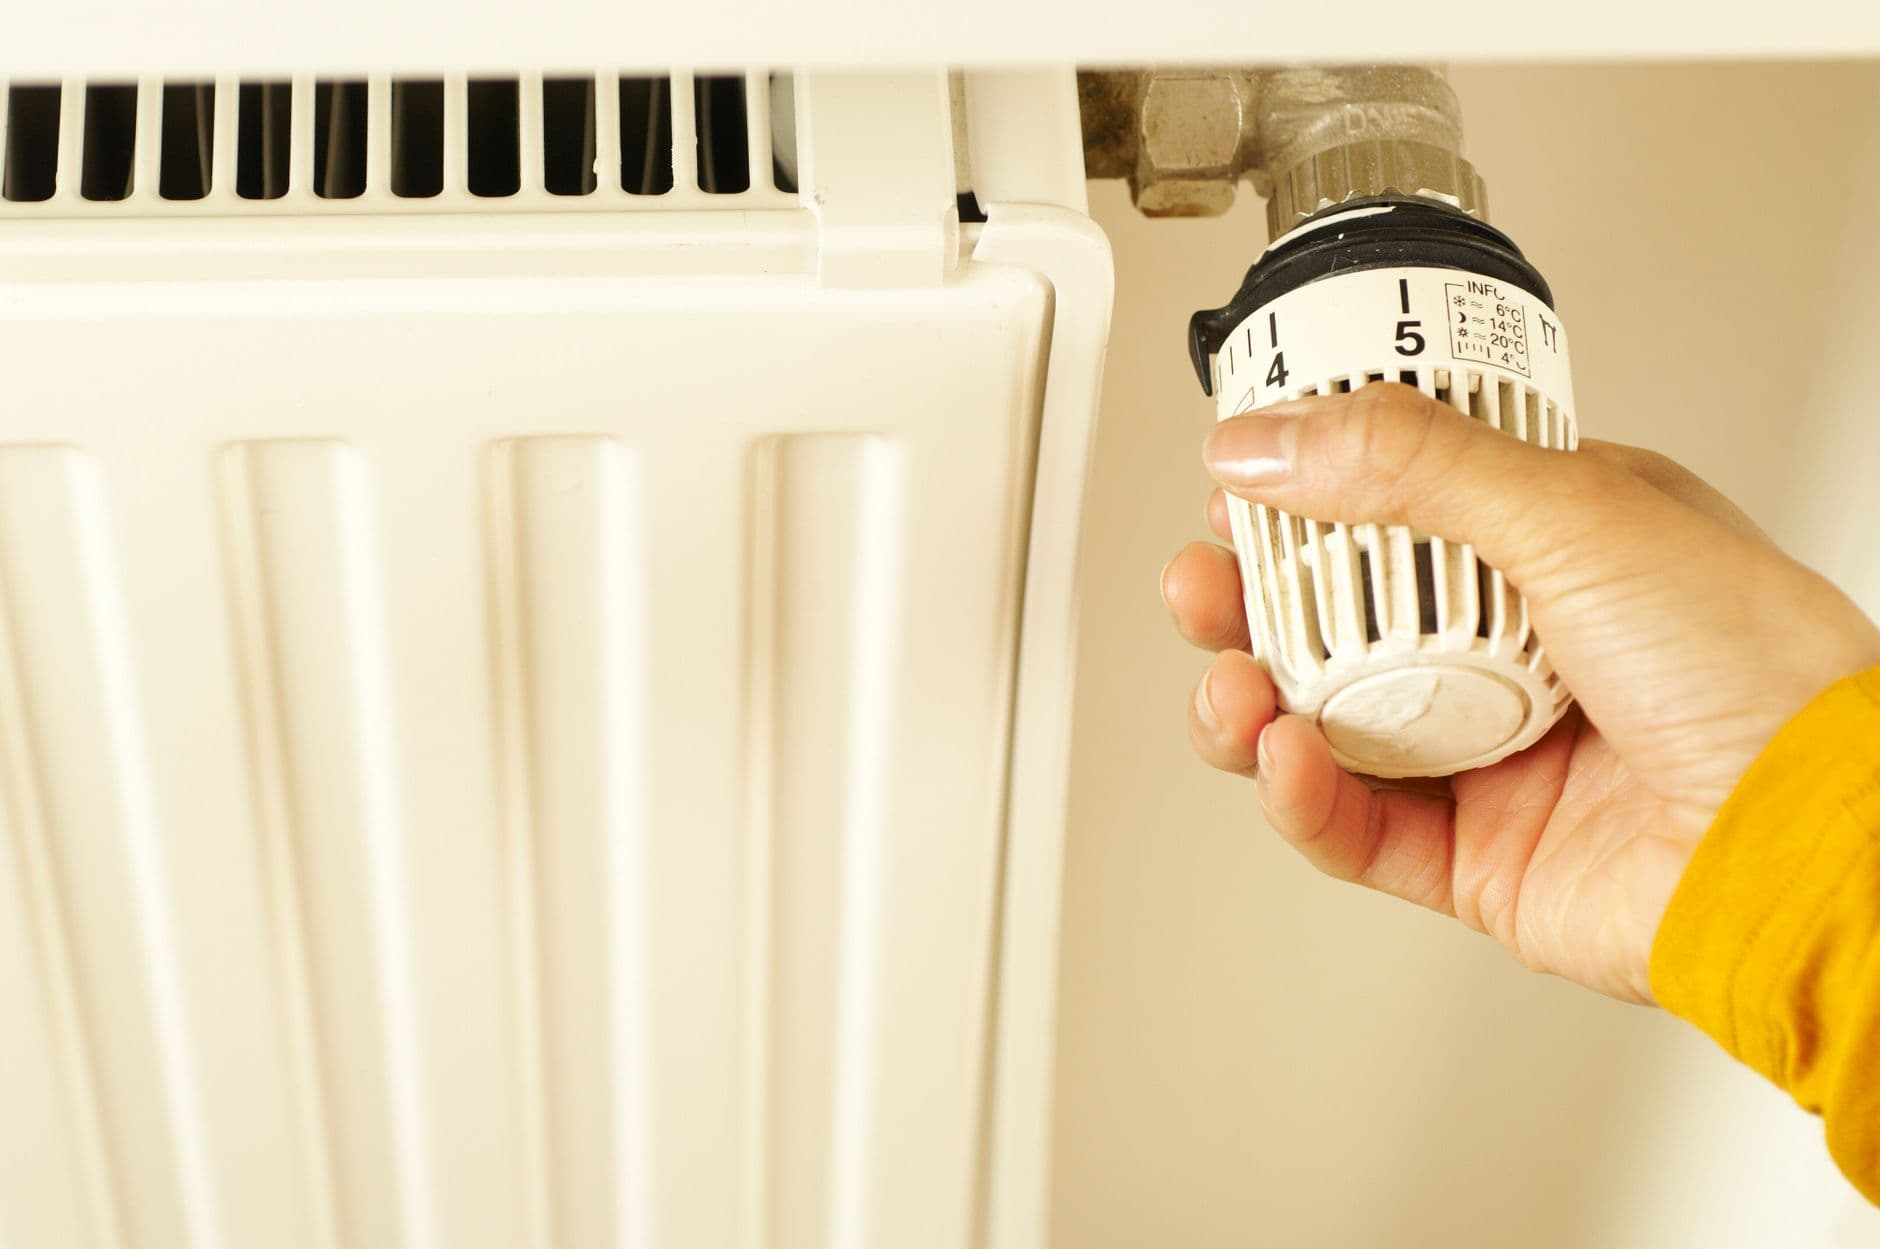
Step-by-Step Guide to Fixing a Leaky Faucet
Here's a step-by-step guide to fixing a leaky faucet based on my experience:
- Turn off the water supply to your faucet.
- Remove the faucet handle using a screwdriver.
- Unscrew the packing nut with an adjustable wrench.
- Remove the stem and check for damage or wear.
- Replace the worn-out washer and O-ring with new ones.
- Reassemble the faucet by reversing the process.
- Turn the water supply back on and check for leaks.
Common Questions About Faucet Repairs
Q: How do I know if I need to replace the washer or the entire faucet?
If the leak persists after replacing the washer and O-ring, or if your faucet is very old, it might be time to replace the entire faucet.
Q: What if I can't find a replacement O-ring that matches?
Take the old O-ring to a hardware store for a match or consult the faucet's manufacturer for specific parts.
Q: Can I use any screwdriver for the repair?
It's best to use a Phillips screwdriver, but a flathead may work in a pinch for some parts.
Q: What if the leak continues after repair?
Double-check that all components are tightened correctly and that the new parts are installed properly. If the problem persists, consulting a professional might be necessary.
EditorialOur Take
Repairing a leaky faucet is a manageable task that can be accomplished by anyone with basic tools and a little patience. My experience showed me that taking a DIY approach not only saves money but also gives you the satisfaction of solving a problem on your own. However, if you're uncomfortable or unfamiliar with tools, it might be worth considering professional help. This guide is perfect for those looking to tackle small home repairs without the need for extensive experience or expensive equipment. If you're willing to put in a little effort, you'll find that fixing a leaky faucet is quite rewarding and can lead to a newfound confidence in handling other minor repairs around the house. The skills learned from a simple repair can apply broadly, making future DIY tasks less daunting.
Published on .
Share now!

Jack Turner
DIY & Repairs Contributor
Jack Turner writes Dailynib's simple-repair guides. He believes most small household fixes are far less scary than they look once someone shows you the steps. Jack focuses on safe, beginner-friendly repairs that don't need a pro. Jack uses AI tools to research, draft, and help keep these articles accurate.
More from Jack →The information on this site is of a general nature only and is not intended to address the specific circumstances of any particular individual or entity. It is not intended or implied to be a substitute for professional advice.
Get our best tips in your inbox
A short, practical email now and then. No spam, and you can unsubscribe anytime.