Published on:
4 min read
By Jack Turner · DIY & Repairs Contributor
Comparing Bathroom Sealants: Which One Prevents Mold Best?
I tested silicone and acrylic sealants in my bathroom to find out which one actually prevents mold. Here's what worked and what didn't.

My Moldy Bathroom Dilemma
After battling mold in my bathroom for what felt like ages, I knew it was time to find a long-term solution. Mold not only looks unsightly but also can damage surfaces over time. With two small kids constantly splashing water everywhere, keeping the bathroom dry was a challenge. The constant dampness made it a perfect breeding ground for mold. I realized it was time to reassess my choice of sealant, which seemed to be failing at keeping mold at bay. In this article, I'll share my hands-on experience with silicone and acrylic sealants, comparing their effectiveness at preventing mold growth. You'll learn about the pros and cons of each type and which one ultimately proved the best for my bathroom.
Testing Silicone Sealant: A Deep Dive
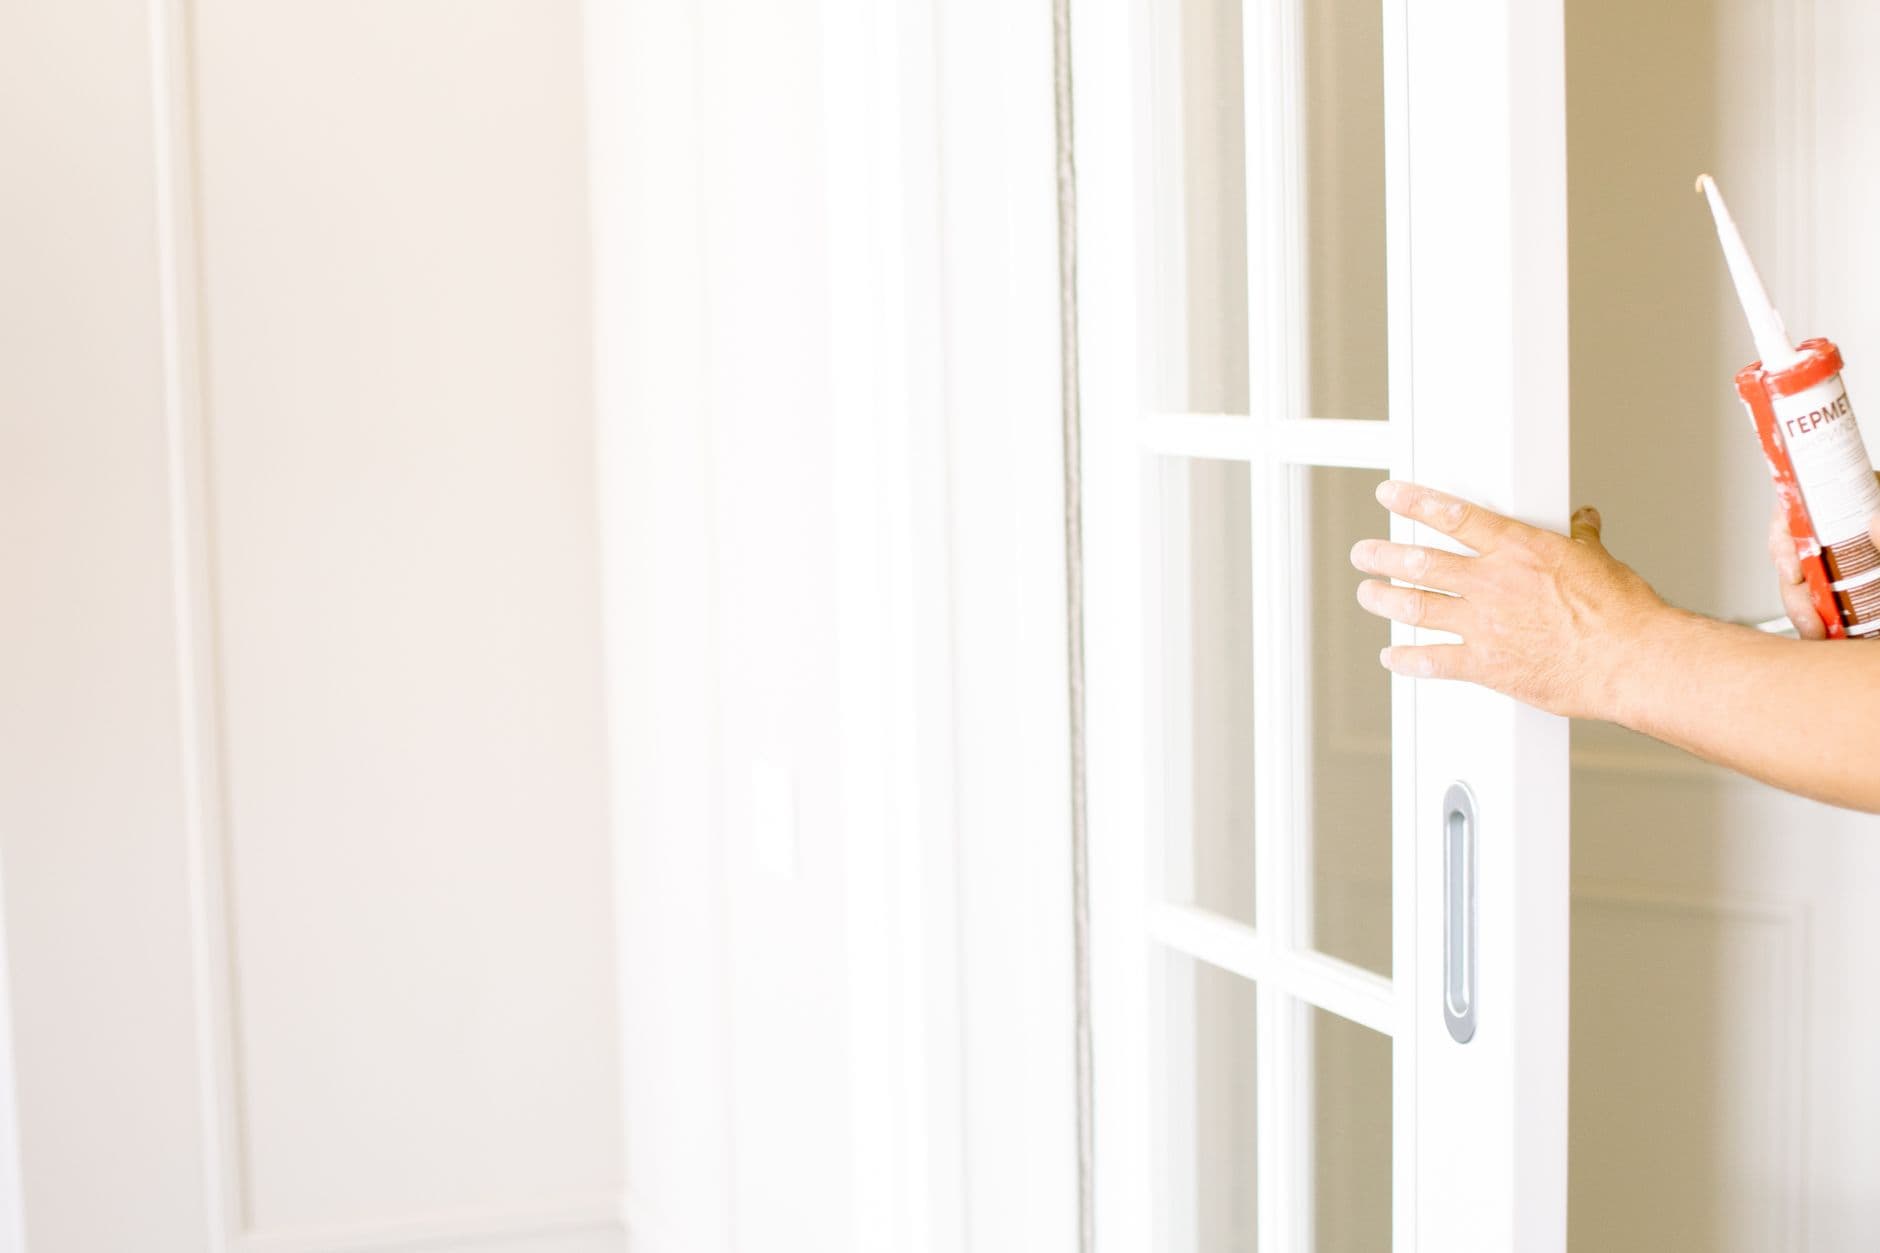
I started my experiment with silicone sealant, known for its flexibility and waterproof properties. I used a standard silicone sealant labeled 'mold-resistant' from a trusted brand, costing about $8 per tube. The entire process took about two hours, including removal of the old sealant, cleaning the joints, and applying the new silicone around my bathtub and sink. I used a standard caulking gun, which set me back another $10, but it made the application much easier compared to a squeeze tube.
After three weeks, I noticed a significant decrease in mold spots in the areas where water tends to accumulate. The silicone remained intact, without peeling or cracking, even with constant exposure to water. However, the application was a bit tricky; silicone is sticky and requires a steady hand for a neat finish. Anyone attempting this should invest in a good quality caulking gun and masking tape to ensure straight lines. I also found that keeping a small dish of warm soapy water handy was crucial for smoothing the silicone after application without it sticking to my fingers.

Trying Out Acrylic Sealant: An Alternative Approach
Next, I gave acrylic sealant a try. Priced similarly to silicone at roughly $7 per tube, it promised ease of application and paintability. Applying acrylic sealant was indeed simpler; it flowed smoothly, and corrections were easy to make before it set. I completed the re-sealing of the bathroom fixtures in about an hour and a half, which was quicker due to the less sticky nature of the acrylic.
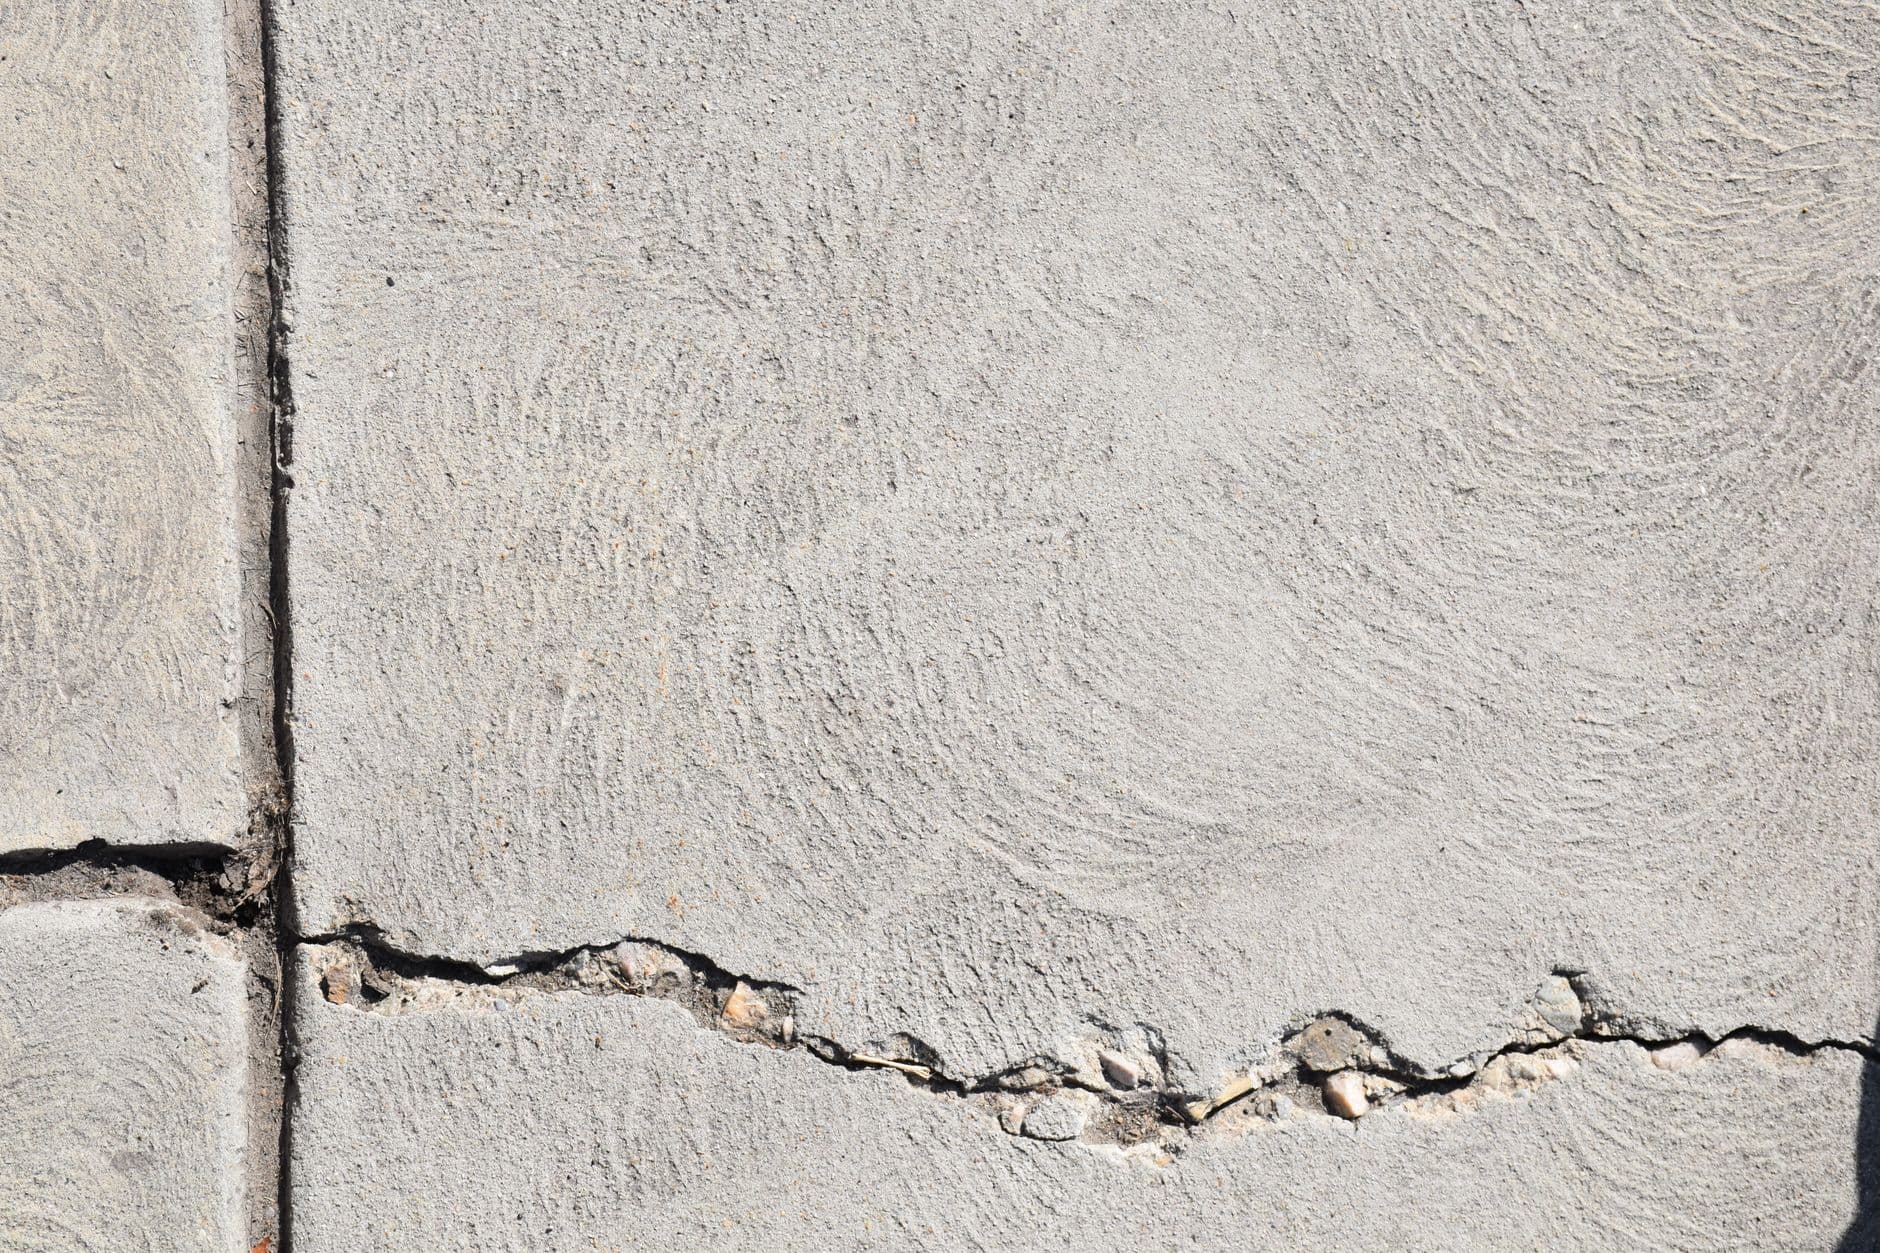
Two weeks in, I started noticing mold spots reappearing, particularly in the corners of the shower where water tended to pool. The acrylic seemed to absorb some moisture, which seemed to prompt mold growth faster than silicone. While acrylic might suit dry areas or for cosmetic purposes, in my experience, it didn't quite hold up in high-moisture conditions like a bathroom. I also found that it tended to shrink slightly as it dried, creating small gaps that could harbor mold.
Silicone vs Acrylic: The Mold Prevention Showdown
My experiment boiled down to comparing silicone and acrylic sealants directly. Both have their merits, but when it comes to mold prevention, the difference was clear. Here's a quick summary of my findings in a table:
Silicone vs Acrylic: Mold Prevention
| Sealant Type | Ease of Application | Mold Resistance |
|---|---|---|
| Silicone | Moderate | High |
| Acrylic | Easy | Low |
| Hybrid Silicone | Moderate | Medium |
Steps to Seal Your Bathroom Like a Pro
Here's how I'd recommend sealing a bathroom to prevent mold based on what I learned:
- Remove old sealant: Use a utility knife and scraper to carefully cut and pull away the old material.
- Clean surfaces thoroughly: Ensure all soap residue and any remaining mold are eradicated using a bathroom cleaner.
- Dry the area completely: Use a fan or dehumidifier if needed to ensure no moisture remains before applying new sealant.
- Apply masking tape: Keep your lines neat by taping off the areas around where you'll apply the sealant.
- Choose the right sealant: I recommend silicone for mold-prone areas for its superior resistance.
- Apply the sealant: Use a caulking gun for control and ensure an even, continuous bead.
- Smooth the sealant: Use a wet finger or a special caulking tool to smooth out the bead before it starts to set.
- Allow it to cure: Wait 24-48 hours before exposing to moisture, ensuring the sealant has fully cured.
Your Sealant Questions Answered
Q: Can I paint over silicone sealant?
Unfortunately, silicone isn't paintable. If painting is a priority, consider acrylic or a paintable hybrid sealant, but note the trade-off in mold resistance.
Q: How often should I reseal my bathroom?
Re-sealing typically holds up for 5-10 years, but high mold-prone areas might need attention every couple of years. It's always a good idea to regularly inspect for any gaps or peeling.
Q: What if I see mold under the sealant?
Remove the sealant completely, clean the area with a mold remover, and let it dry thoroughly before applying new sealant. Addressing the root cause is essential to prevent recurrence.
Q: Is there a quick fix for small mold spots?
For small areas, a mold-resistant spray might temporarily help, but removing and replacing the affected sealant is usually the most effective solution.
EditorialOur Take
Based on my hands-on experience, silicone sealant is the superior choice for keeping bathrooms mold-free. Its slightly challenging application pays off with high mold resistance, making it ideal for moisture-rich environments. Acrylic might suit less wet areas or aesthetic needs due to its ease of use and paintability, but it doesn't match up in mold prevention. For anyone tackling a bathroom project, silicone is a worthy choice in the fight against mold. It's best for homeowners who prioritize long-term results over ease of application.
Published on .
Share now!

Jack Turner
DIY & Repairs Contributor
Jack Turner writes Dailynib's simple-repair guides. He believes most small household fixes are far less scary than they look once someone shows you the steps. Jack focuses on safe, beginner-friendly repairs that don't need a pro. Jack uses AI tools to research, draft, and help keep these articles accurate.
More from Jack →The information on this site is of a general nature only and is not intended to address the specific circumstances of any particular individual or entity. It is not intended or implied to be a substitute for professional advice.
Get our best tips in your inbox
A short, practical email now and then. No spam, and you can unsubscribe anytime.